GitHub Integration
Use this integration to collect evidence from your Git repositories
Written By Micah
Use Terraform for GitHub to collect evidence from your GitHub projects, repos, branches, and more.
With our Terraform for GitHub integration, you can collect evidence of your git settings and configurations directly from GitHub. Terraform integrations are a flexible, low-code solution that allow you to customize what evidence is collected from your cloud systems. Read more about our Terraform integrations.
Types of evidence you might collect with Terraform for GitHub
There are a lot of different types of evidence that you can collect from GitHub. The flexibility of this integration is limited only by what is available from Terraform in terms of data sources supported by the GitHub provider.
Important note: You do not need to use Terraform in your tech stack in order to use Terraform for GitHub to collect evidence.
Here is a short, non-exhaustive list of some of the possible evidence you may collect from this integration:
User access lists for your code repositories
Protected branch settings
Release status
Artifacts from your CI/CD pipelines
Follow the instructions on this page to get started collecting evidence from GitHub using Terraform.
Configuring Terraform for GitHub
The GitHub integration requires a Personal Access Token (PAT) whose resource owner is the GitHub organization you want access to (not your personal account). This is the most common setup mistake and the root cause of most integration failures.
Personal Access Token Setup
Option 1: Fine-grained PAT (recommended)
Go to GitHub → Settings → Developer Settings → Personal Access Tokens → Fine-grained tokens → Generate new token.
Resource owner: Set this to the organization (e.g.,
Strike-Graph), not your personal account. The dropdown defaults to your user — you have to change it.Repository access: "All repositories" or "Only select repositories" with each target repo explicitly added. Repos created after the token is issued won't be included automatically.
Repository permissions minimums (read-only on each):
Metadata — required by default
Administration — required for
github_branch_protection_rules; branch protection data lives under admin permissions, not contentsContents — required for repo content data sources
Any additional read-only permissions required for the data you plan to collect
If your organization has fine-grained PAT policies enabled, the token will sit in a pending approval state until an org admin approves it. It won't work until that approval goes through.
Option 2: Classic PAT
Go to GitHub → Settings → Developer Settings → Personal Access Tokens → Tokens (classic).
Scope:
repo(full)After creating the token, find it in the token list, click "Configure SSO", and authorize it for your organization. Without this step, the token will work against personal repos but fail on org repos protected by SAML — even with the correct scope.
Classic PATs span all organizations the user belongs to, so one token can cover multiple orgs.
Once you have your token, navigate to Integration Manager > GitHub > Create new and paste the token into the appropriate field. Give the integration a name, and confirm the organization that is configured with the token.
You can create as many GitHub connections as you need, so that you can manage the scope integrations as necessary. Please note that everyone with access to your GRC organization will be able to use any configured GitHub connections during evidence collection.
Using Terraform for GitHub to collect evidence
Once you have configured a Terraform for GitHub integration, you can begin using it to collect evidence of your GitHub resources.
Start by navigating in Strike Graph to the item that you want to collect evidence for. You can choose to attach evidence directly for one time evidence collection, or configure automated collection (recommended).
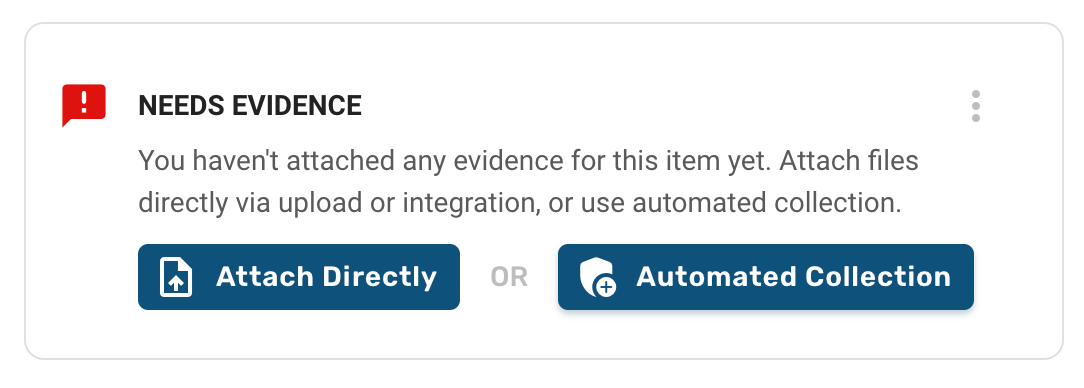
Click on either one of the options, and then select the desired Terraform for GitHub integration from the list of available integrations. If you have configured multiple Terraform for GitHub integrations, make sure you select the one with the right permissions for the evidence that you plan to collect.
Define the data to collect
Terraform integrations allow you to use a few lines of code to define what data you would like to collect as evidence. These are called “data blocks” and more information about data blocks and local values can be found on the Terraform overview page.
With Terraform for Google Cloud Platform, you can collect evidence of GitHub settings that you use in your code repositories from supported data sources. There is a list of which data sources may be available at the bottom of this page, as well as on the Terraform GitHub provider page (data sources are listed under the sections on the left side of the page).
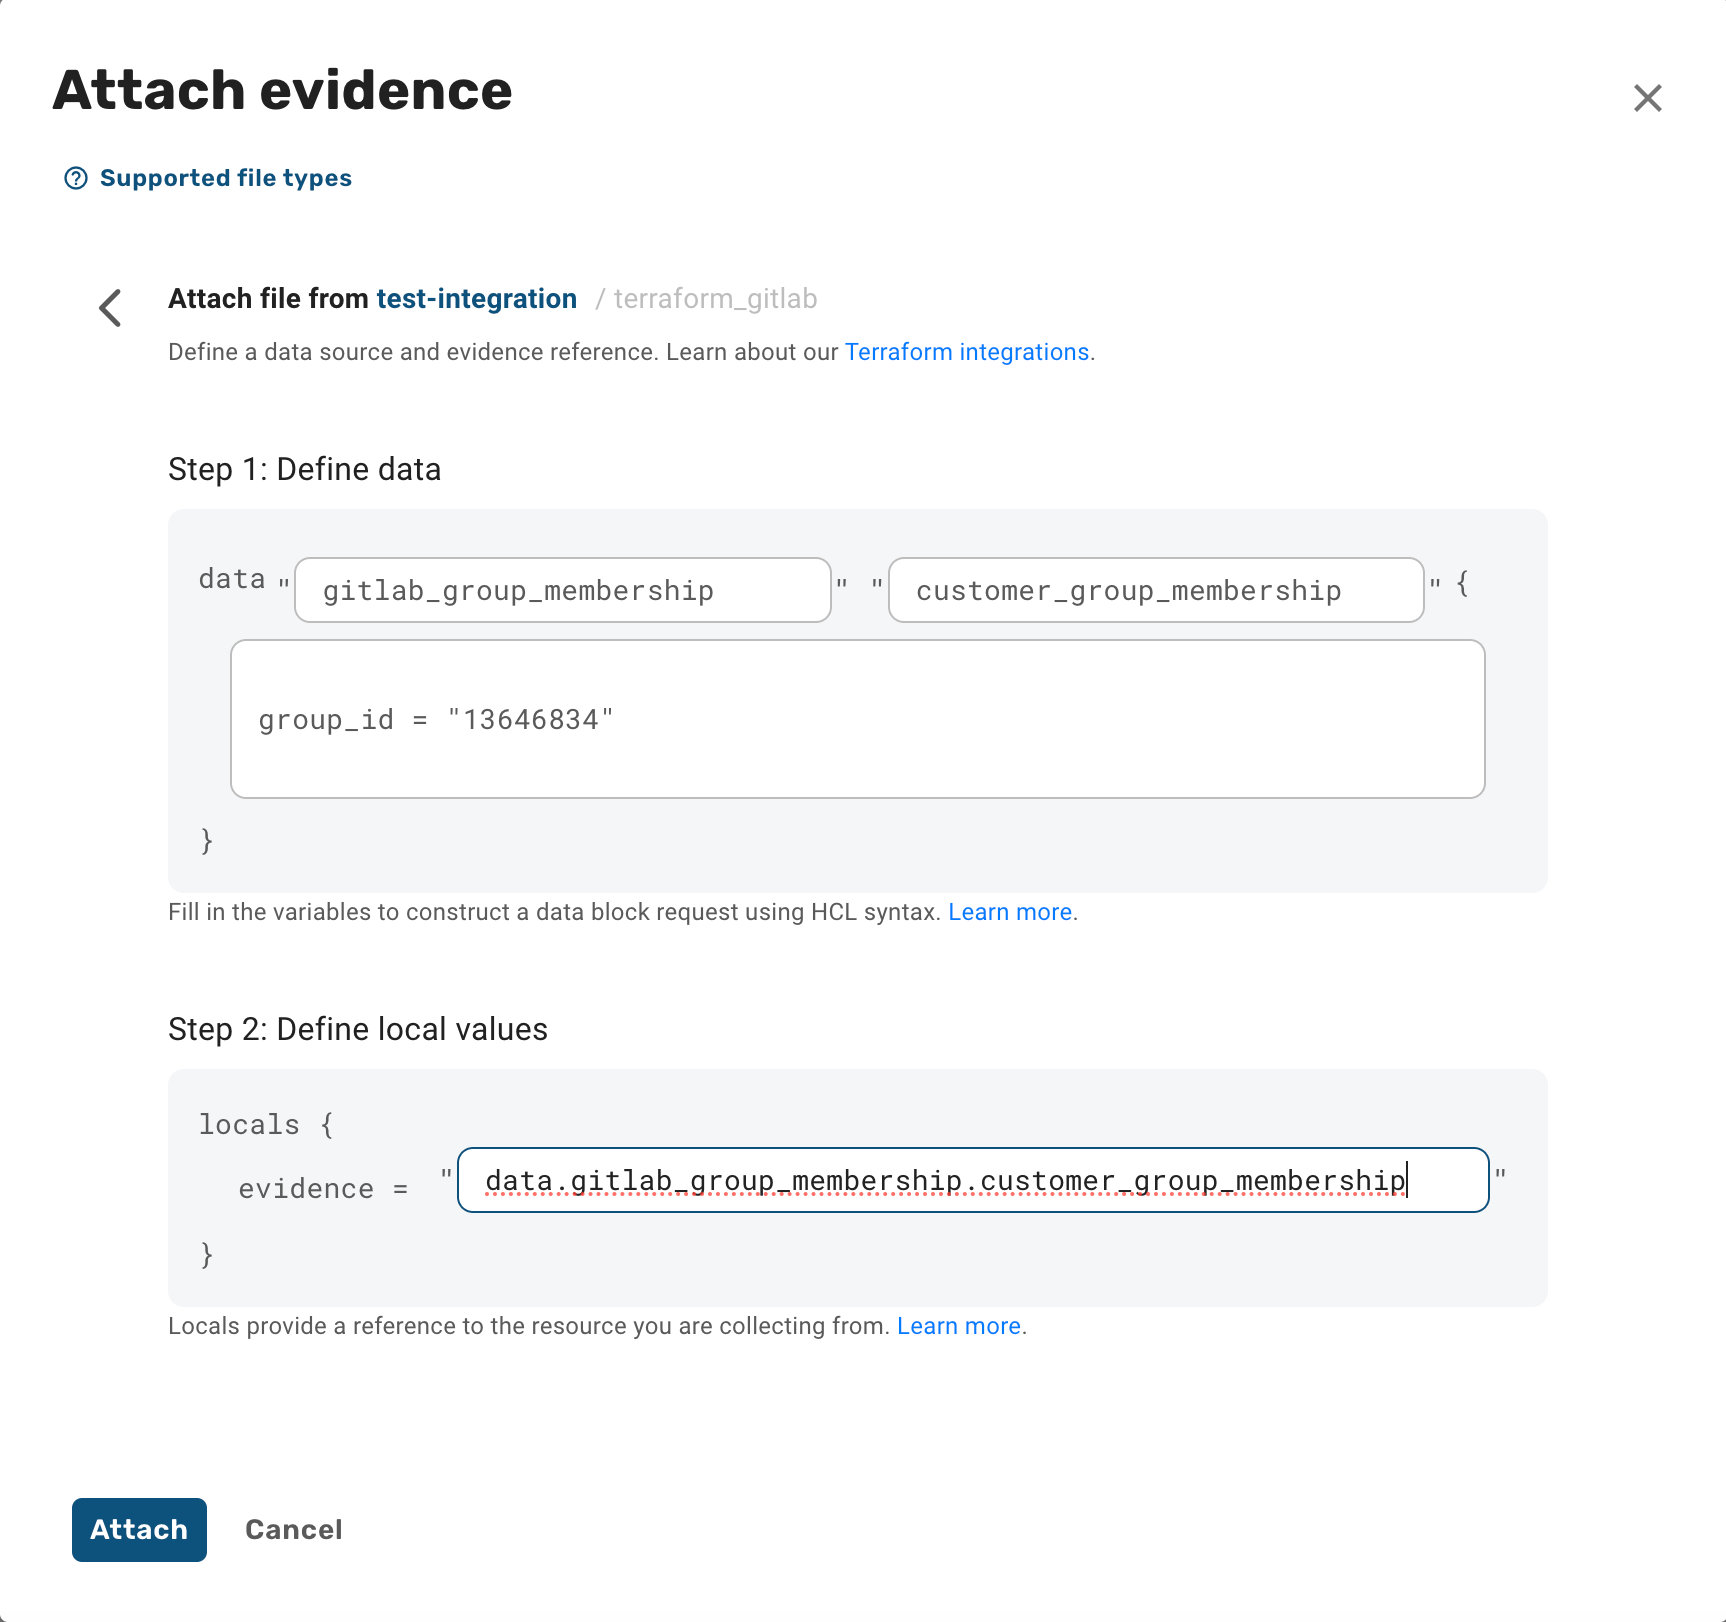
Step 1: Define the data block. Data blocks are extensible, but follow a typical pattern:
data_source: this defines which GitHub setting we should read from. Terraform for GitHub supports data collection from any resource with a supported data source from Terraform's GitHub provider (see below for a list).
temp_name: this is a temporary name you define and is used to refer to this data block during execution. It only has labeling significance within the scope of this configuration. The temp name is used in the output's filename, so it's recommended that you name it with something recognizable. Names can be repeated across configurations, are limited to alphanumeric characters, and do not allow spaces.
query constraints / arguments – Many data sources require specific argument(s) to be included (like the name of the resource you're pulling data from), or provide methods for constraining the data based on specific queries so that you can tailor the output. These are written as key/value pairs and can include multiple arguments as accepted by the data source. Refer to the specific data source requirements in the Terraform GitHub provider documentation.
Step 2: Define the local values used for the execution. This also follows a typical pattern that is derived from the data block: data.data_source.temp_name (sometimes followed by a key if a filter argument is desirable).
Run the data collection
After you have defined the data block and local values, click the "Attach" button to execute the data collection. This may take a few minutes as we set up the data pipeline to collect the attachment.
Once the collection is finished, the attachment modal will close and you can see the collected data has been added to the evidence. You can confirm what was collected by clicking on the attachment to view the data.
Using Terraform for GitHub with Automated Collection
It is highly recommended that you configure your evidence collection with automated collection. With Automated Collection, Strike Graph can recollect evidence attachments from GitHub a few days before expiration so that your evidence remains in an effective 'audit ready' state.
To configure your evidence with Automated Collection, follow the steps above after clicking on the "Automated Collection" button found on the evidence item detail pages. Additional information about Automated Collection is available here.
Removing your Terraform for GitHub integration
You can remove the integration at any time. Please note that removing an integration does not delete any files that were attached using that integration. Removing an integration will also disrupt automated collection.
To remove:
Go to the Integrations Manager and click on the Terraform for GitHub card to access the integration configurations.
Click the "Deactivate" button next to your configuration.
Note: You may have access to remove integrations for other users on your team.
If you are fully removing access between Strike Graph and your GitHub system, you may also wish to delete the access token that you set up during configuration. Before deleting, verify that you are not using it for other purposes.
Troubleshooting
For additional Terraform troubleshooting tips, click here.
Terraform integrations will return an error if we were unable to execute the collection request. The errors returned will be different depending on which step of the collection failed.
Errors when setting up an integration
If you receive an error while setting up an integration, check if there is a specific error message at the top of the form. Possible errors include providing a project id that’s not associated with the credential configuration, or providing a malformed credential configuration (which would most likely be due to a copy+paste error).
General formatting errors
If the error message returned during evidence collection is pretty generic (like "Something went wrong") it may be a formatting issue. Check that your temp_name is formatted correctly (no spaces, only alphanumeric characters) and that there are not any other unexpected characters or formatting issues in the data block or local values.
Check permissions
If it is a permissions error, ensure that you have given your service account the necessary read-only permissions to access the resource.
Confirm the data_source requirements
Check that the resource you defined in the data_source is available from the GitHub Terraform provider, and ensure that you have included any required query constraints / arguments.
Confirm the local values
Confirm that the local values are formatted correctly. Typically, the local value should start with "data" (as described above) and include the data_source and temp_name. Check that the data_source and temp_name values are the same between the data block and local values.
The list of supported GitHub data sources
The following list is a snapshot of supported data sources from the GitHub Terraform provider. For up-to-date support and specific data source requirements, visit the Terraform documentation.