Jira Cloud
Collect Jira issues, saved-filter populations, and system overviews as evidence
Written By Micah Spieler
With our Jira Cloud integration, you can attach Jira issues (sometimes referred to as tickets) as evidence directly from your Atlassian account. Using the integration to collect tickets as evidence helps increase efficiency (one less step in collecting evidence), data security (no need to download sensitive files onto your desktop first), and reduce clutter (collect directly from the single source of truth). Beyond individual issues, the integration can also collect an entire population of issues from a saved filter as a CSV, or a system overview describing your Jira projects and workflow states as evidence that a ticketing and workflow tool exists and is in use.
Types of evidence might collect from Jira Cloud
Many organizations use project management software like Jira to keep track of change management and access management related security controls.
Access log reviews
Change management adherence
Security or other system reviews
A full population of issues matching an audit sample, collected from a saved filter as a CSV
Evidence that a ticketing and workflow tool is configured and in active use, via a system overview of your Jira projects
Follow the instructions on this page to get started collecting evidence from Jira Cloud.
Step 1: Configure the integration
This integration connects directly with your Jira Cloud/Atlassian account and each user who would like to collect evidence using Jira Cloud will need to configure the integration for themselves.
Go to the Integrations Manager and click on the Jira Cloud card to access the integration configurations. Note: If you do not see Integrations Manager in your main navigation, you may not have access to this feature. Please contact your customer success manager for more information.
Click on the "+ Connect " button. You will be redirected to Atlassian to Authorize the integration, which may require you to log into your Atlassian account to continue.
Click on the "Accept" button to approve the authorization request. You will be redirected back to the Integrations Manager.
If your configuration was successful, you should see your account listed in the Jira Cloud integration card.
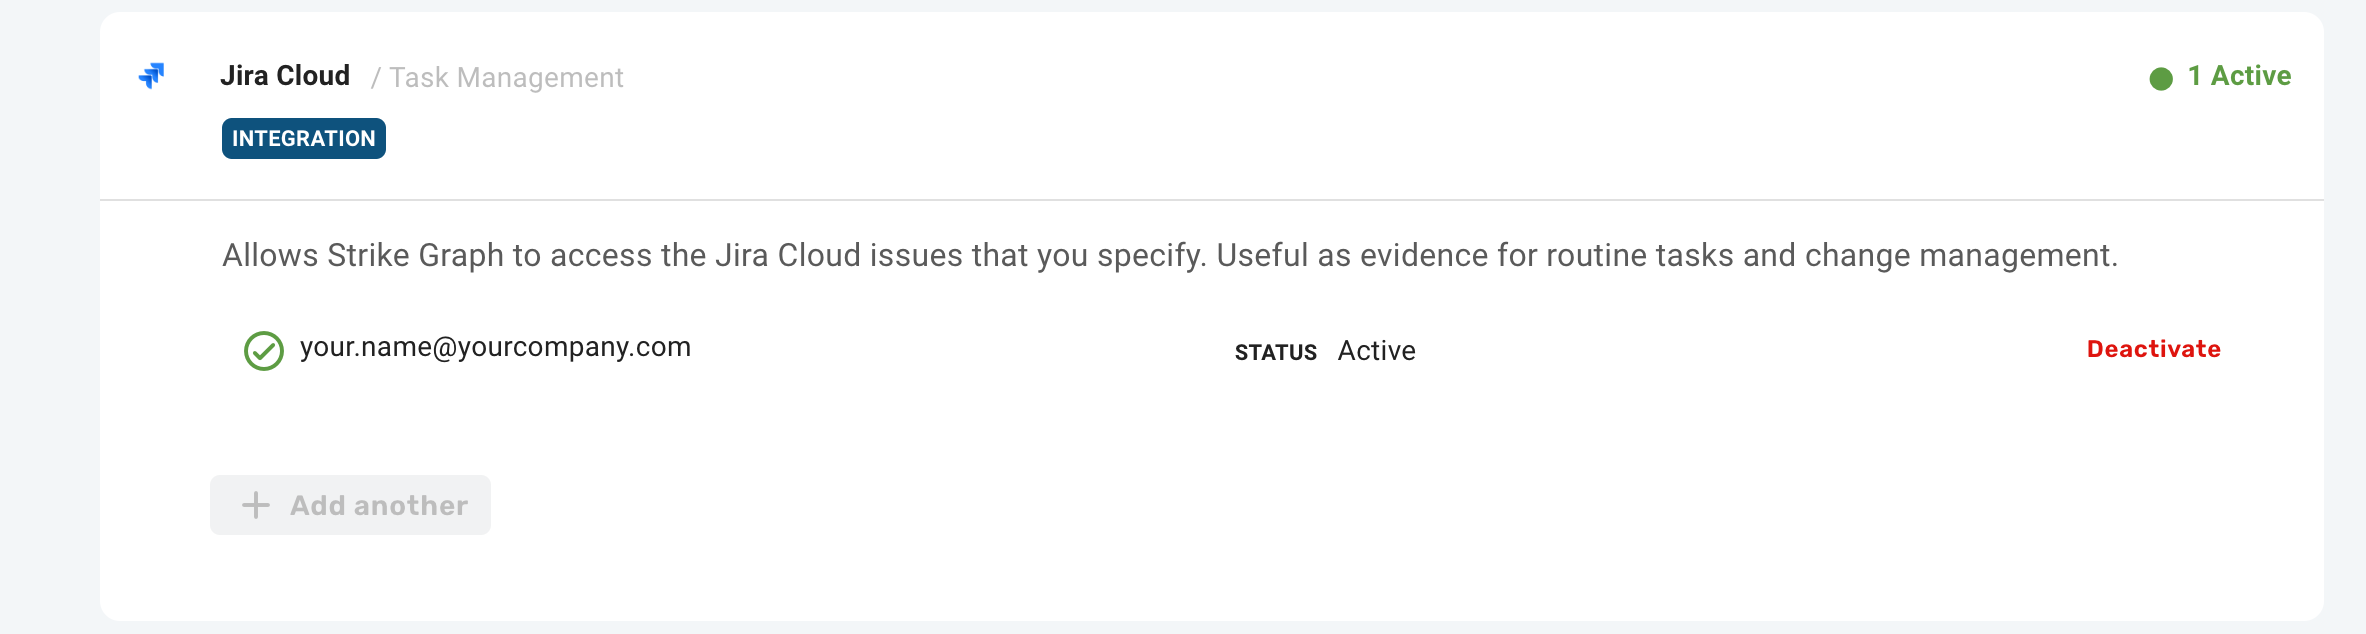
Each user within your organization who would like to use the Jira integration to collect evidence will need to authorize access from the Integrations Manager screen.
Step 2: Using Jira Cloud to attach issues/tickets to evidence
When you attach evidence from your Jira Cloud integration, the Type dropdown offers four collection options: Issue Key, JQL, Saved Filter (a population of issues as a CSV), and System Overview (a description of your Jira projects and workflow states). Each is described below.
Using an Issue ID / Key
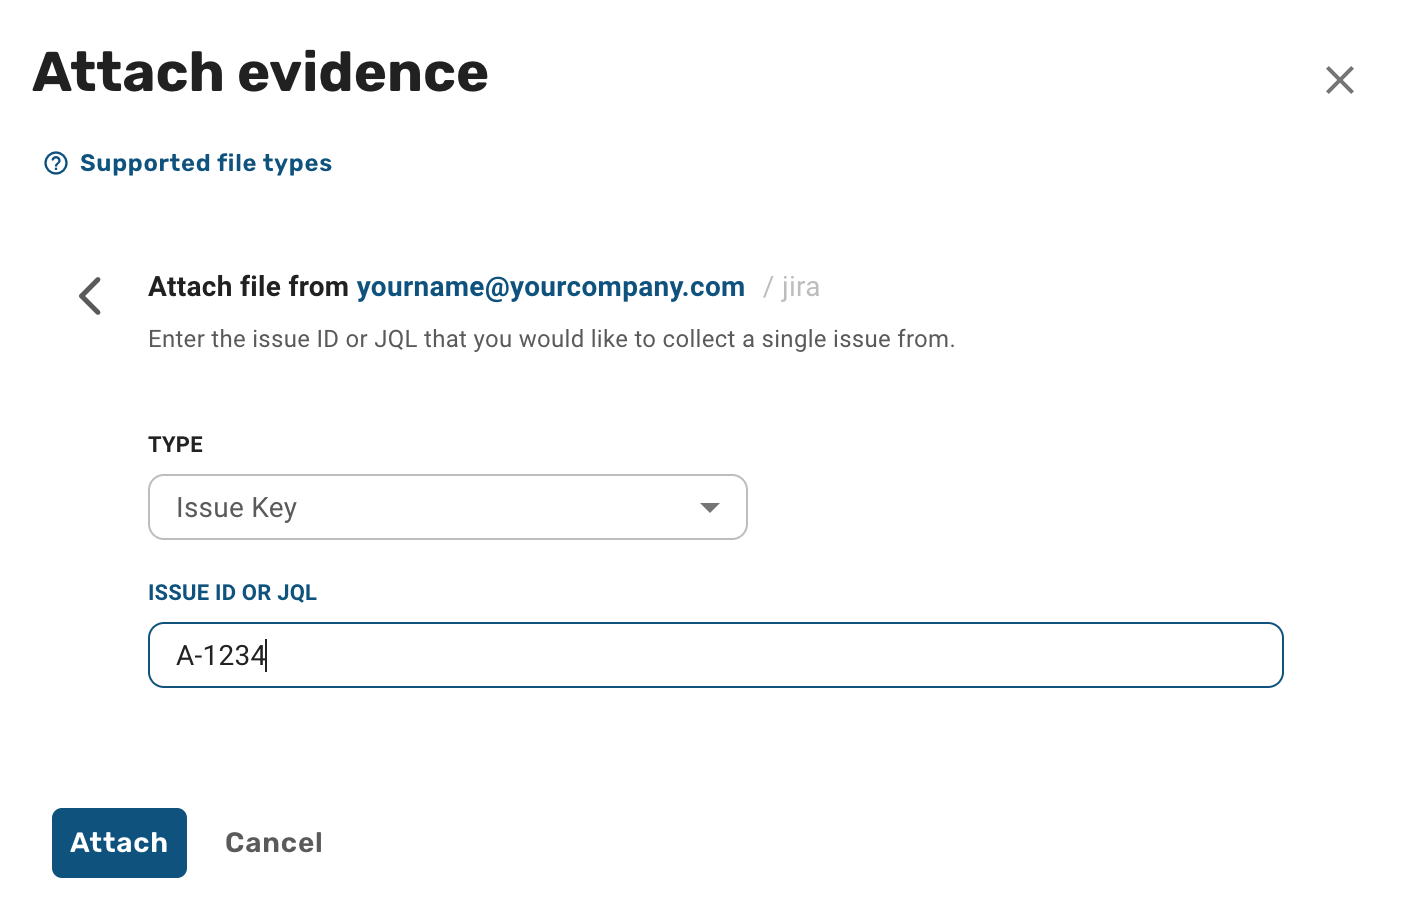
If you know exactly which issue from Jira you would like to collect, using the issue ID is the most straightforward method. Once you have activated a Jira Cloud integration for your account, you can use it to attached issues directly from your Jira Cloud to your evidence items.
Open the evidence where you want to attach a file
Click on the "Add Attachment" button to open the attachment modal
In the attachment modal, select the integrations tab and then select your Jira Cloud integration from the list
Make sure that 'Issue Key' is selected from the dropdown and then paste in the issue ID (usually the the project abbreviation + a numerical ID value, for example "XY-1234") into the text field.
Click "Attach" – Note: it may take a minute while the integration fetches the details from Jira.
Using a JQL statement

If you want to dynamically collect issues from Jira, using a JQL (or Jira Query Language) statement allows you more flexibility. This option will collect the first issue returned from the JQL. This is ideal for selecting the most recent issue that meets a certain criteria, and can be paired with automated collection for streamlined evidence collection.
Open the evidence where you want to attach a file
Click on the "Add Attachment" button to open the attachment modal
In the attachment modal, select the integrations tab and then select your Jira Cloud integration from the list
Make sure that 'JQL' is selected from the dropdown and then paste in the JQL that you would like to use as a selection criteria into the text field
Click "Attach" – Note: it may take a minute while the integration fetches the details from Jira.
Using a Saved Filter — Population (CSV)
If you need to demonstrate a full population of issues rather than a single example, such as for audit sampling, use a Jira saved filter. This option collects every issue matching the filter into a single CSV attachment, with one row per issue.
In Jira, open (or create) the saved filter that returns the population you want, and configure the columns you'd like on it. If the filter itself has no columns configured, Strike Graph falls back to your own default Jira issue table columns.
Open the evidence where you want to attach a file
Click on the "Add Attachment" button to open the attachment modal
In the attachment modal, select the integrations tab and then select your Jira Cloud integration from the list
Select 'Saved Filter — Population (CSV)' from the dropdown, then paste in the filter's URL from Jira, or enter its numeric filter ID, into the text field.
Click "Attach" – Note: it may take a minute while the integration fetches the details from Jira.
A few things to know about this collection type:
Collection is capped at 1,000 issues per attachment. If the filter returns more, the CSV includes a warning row noting the export was truncated, along with a suggestion to refine the JQL (for example, adding a date range) to capture a complete population.
If the filter returns no issues, the CSV will contain a single row noting that none matched.
This is a good candidate for Automated Collection, so the population stays current as issues are created or resolved.
Using a System Overview — Jira Setup
Use this option to demonstrate that your organization uses Jira as a ticketing and workflow tool, and that it's configured and in active use, rather than to evidence any single issue. The collected attachment is a dated document describing the Jira projects you name: their workflow states and their recent activity.
Open the evidence where you want to attach a file
Click on the "Add Attachment" button to open the attachment modal
In the attachment modal, select the integrations tab and then select your Jira Cloud integration from the list
Select 'System Overview — Jira Setup' from the dropdown, then enter the Jira project keys or IDs you want described, separated by commas, for example
ENG, OPS. A project's key is the prefix on its issues (the ENG in ENG-123); its numeric ID also works. Only the projects you name are described, up to 25 at a time.Click "Attach" – Note: it may take a minute while the integration fetches the details from Jira.
A few things to know about this collection type:
For each named project, the overview reports the workflow states observed on recent work by issue type, how many issues were created and updated in the last 90 days, and the timestamp of the most recent update.
If Jira returns no issues for a named project within that 90 day window, the overview will note that the project's name and workflow could not be confirmed. This can mean either that no work was tracked there during the window, or that the reference doesn't match a project this connection can see.
The collected attachment is a markdown (.md) document rather than a CSV or JSON file.
Pairing this with Automated Collection keeps the overview refreshed as a periodic snapshot of your Jira setup.
Notes about Jira Cloud attachments
Issues collected via Issue Key or JQL are attached as text files in JSON format. They are lightly formatted to be more human readable by removing minor unnecessary data elements.
Issues collected from a Saved Filter are attached as a CSV, with columns matching the filter's own column configuration in Jira (or your default issue columns).
A System Overview is attached as a markdown (.md) document describing the named projects' workflow states and recent activity.
Removing your Jira Cloud integration
You can remove the integration at any time. Please note that removing an integration does not delete any files that were attached used during that integration. Removing an integration may also disrupt automated collection.
To remove:
Go to the Integrations Manager and click on the Jira Cloud card to access the integration configurations.
Click the "Deactivate" button next to your user name.
Note: You may have access to remove integrations for other users on your team.
Using Jira with Automated Collection
With Automated Collection, Strike Graph can recollect evidence attachments from Jira a few days before expiration so that your evidence remains in an effective 'audit ready' state. More information is available here about configuring Automated Collection for your evidence.
This is best paired with the JQL method described above, as it provides more dynamic selection criteria for the automated collection. Two quick examples:
resolution = Done ORDER BY resolved DESC– a JQL like this will select the most recent resolved issue based on resolution date.project = SG AND resolution = Done AND labels = SOC-2 ORDER BY resolved DESC– a JQL like this will select the most recent resolved issue from a specific project that also has a 'SOC-2' label based on resolution date.
Troubleshooting
Integration requirements
To use the Jira integration, you must have an Atlassian account and access to Jira. You may also need permissions to install or authorize Apps on behalf of your Jira administrator.
400 Unable to get resource from Jira API error
This error likely means that your currently configured integration does not have the appropriate permission scopes to get the resource you attempted to collect. This happens most often when trying to use an integration configured before October, 2023 to collect attachments using the JQL method.
To resolve this issue, simply navigate to the Integration Manager, locate your Jira integration, and push the "reconnect" button. This will take you through the authentication workflow again and refresh your configuration with the appropriate scopes.
This Jira connection doesn't have permission to read saved filters
Saved Filter and System Overview collection require permission scopes that weren't part of earlier Jira Cloud connections. If you see this message when attaching evidence, navigate to the Integration Manager, locate your Jira integration, and push the "Reconnect" button to refresh your configuration with the appropriate scopes.
Jira returned no columns for this filter
This means the saved filter has no columns configured, and no default issue columns could be found for your Jira user either. Open the filter in Jira, choose the columns you want collected, then try attaching the evidence again.
Was this helpful?
Still need help? Share an idea