Evidence ownership
Learn your responsibilities as an evidence owner
Written By Micah
I have been assigned ownership of an evidence item, what now?
Your responsibility as an evidence owner is to gather and upload the documentation for the evidence item that you have been assigned. This can be accomplished either via a manual file upload, or you can use one of our integrations to set up automatic collection.
Once you've been assigned ownership of an evidence item, you'll need to complete the following steps:
Upload files to satisfy the evidence item
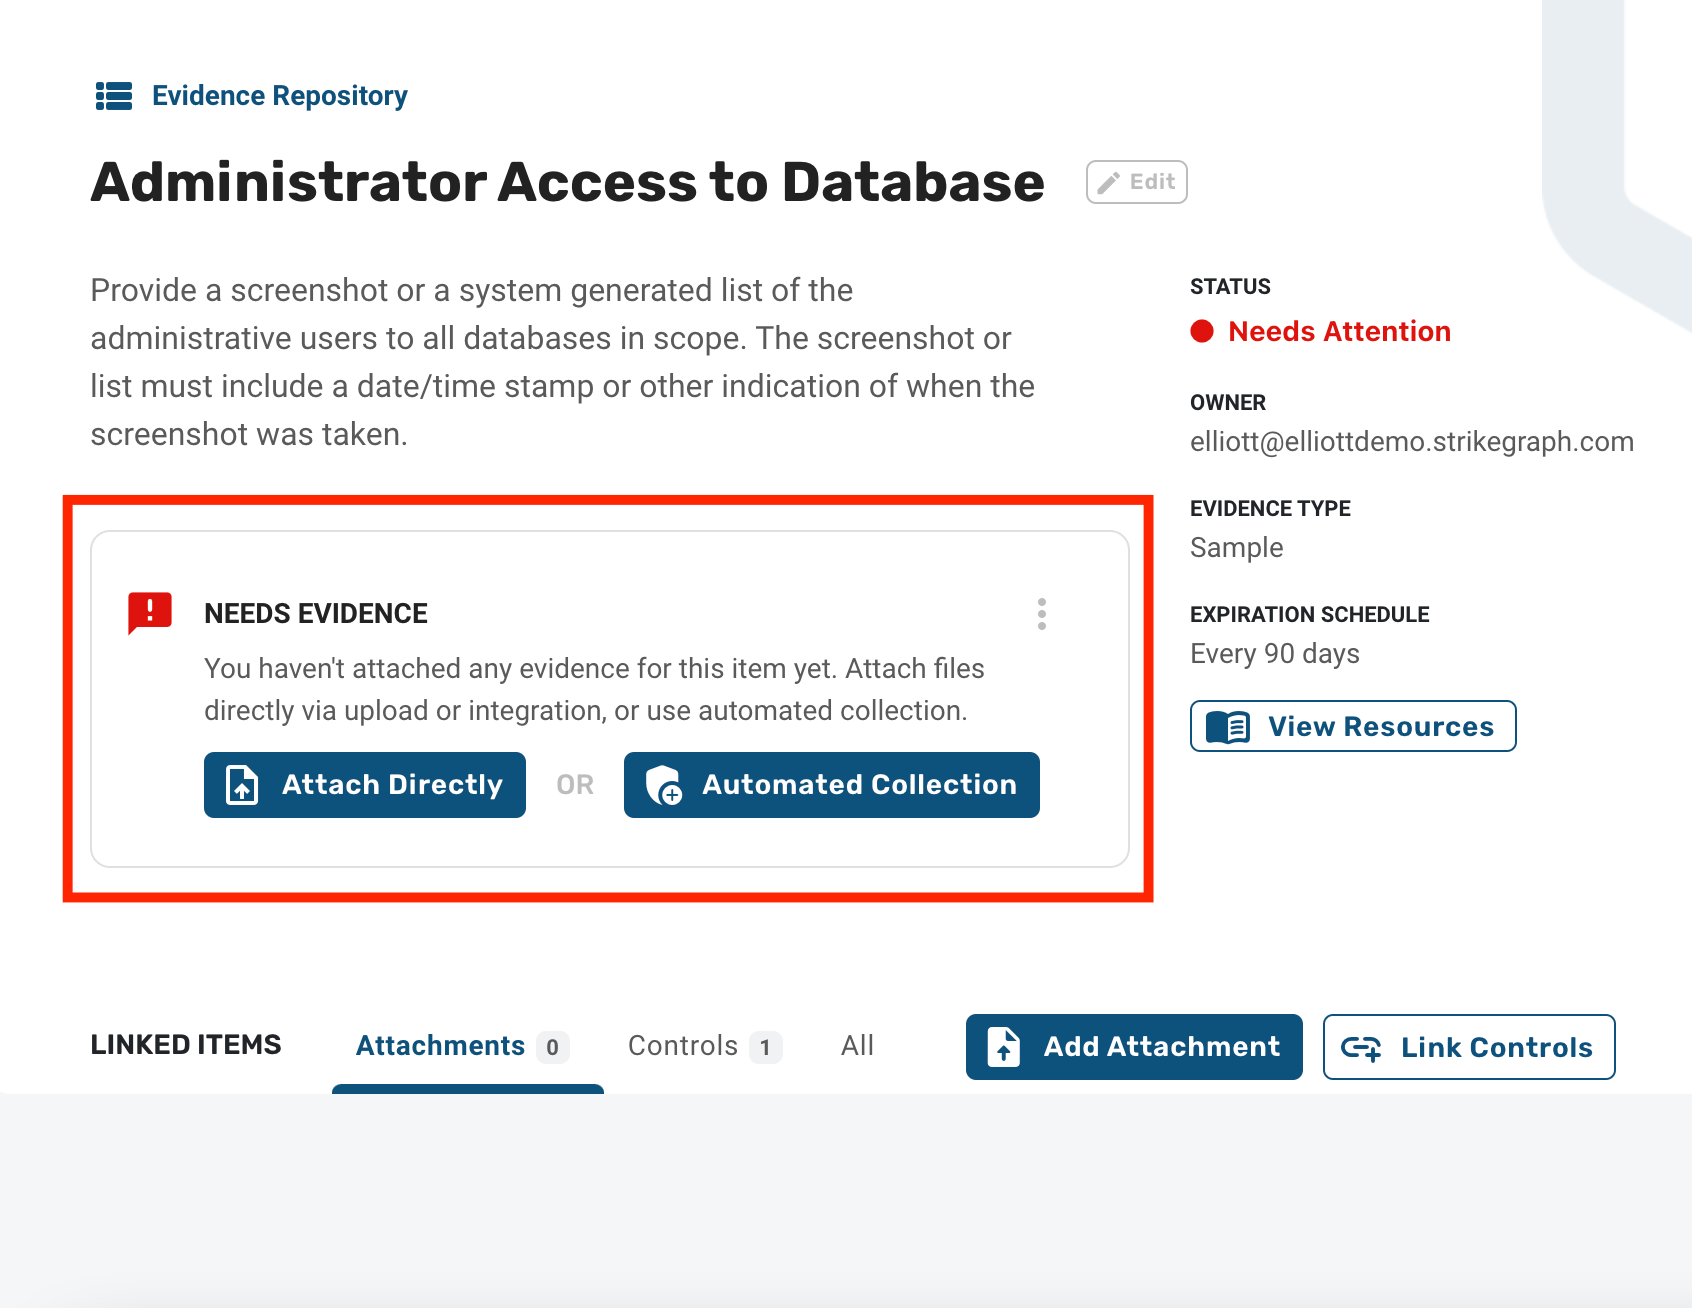
The first step is to upload the requested policy, screenshot, or other file. Files can be uploaded manually, using the Attach Directly button, or you can take advantage of Automated Collection by using one of our integrations.
Keep an eye out for Verify AI result emails in your inbox
Once you've uploaded evidence, it'll automatically process any new attachments that are collected for that evidence — including manual attachments or automated collection.
How to read Verify AI results
Verify AI currently tests attachments across two vectors:
Changes between attachments (also known as the "Diff check")
Alignment to the evidence description (also known as the "Description check")
The most recent test runs will be visible inside the main Verify AI component. Click on the "Show details" link to expand the component to see the detailed results of the test runs.
The status of previous test runs can be seen on the attachment cards themselves; hover over the red, blue, or green bubbles on the attachments to see the results. Verify AI only displays the results from the last tests run for that attachment.
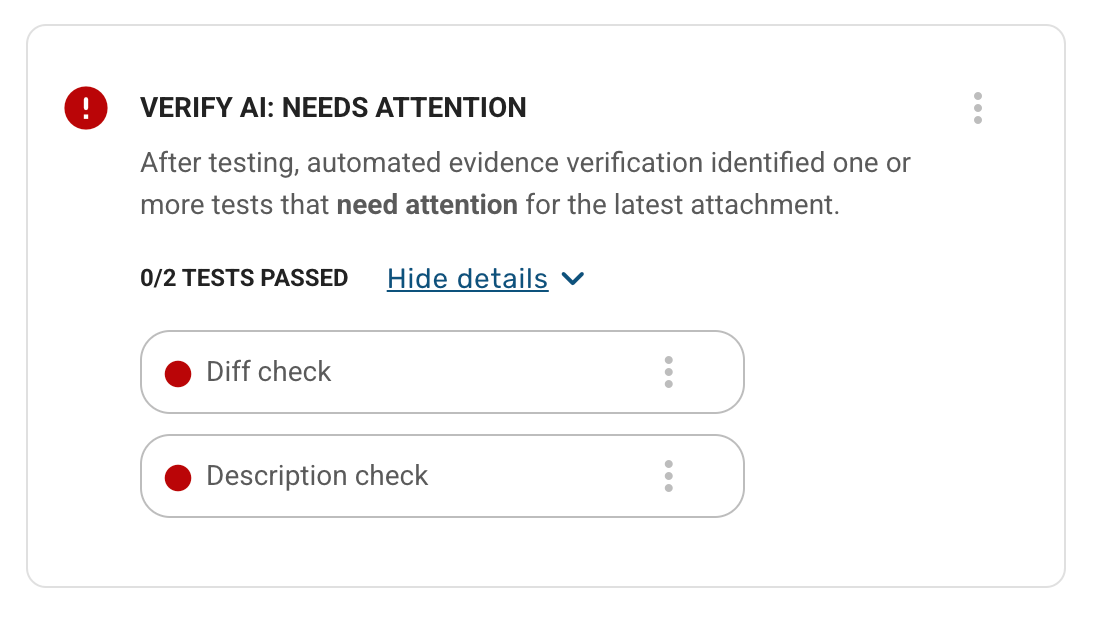
Passed, reviewed, and needs attention statuses
Test results can have one of four statuses:
Passed
Skipped
Needs attention
Reviewed
Passed (green) results mean that the attachment appears to meet the expected requirements of that test.
Skipped (gray) means that Verify AI was unable to successfully process the test on this specific attachment. This can periodically happen if the file is too large, some how locked or corrupted, or is an unsupported file type.
Needs attention (red) means that Verify AI flagged an issue with this attachment. Evidence owners are sent an email alert when Verify AI returns at least one needs attention test status. If Verify AI detects an attachment that needs attention, it also flips the evidence into a needs attention status as well.
Reviewed (blue) means that an evidence owner or organization Manager reviewed the needs attention results but deemed that the attachment was ultimately sufficient. This can be done by clicking on the kabob menu for a flagged test result and selected "Mark as reviewed". If all of the most recent test results are either Passed or Reviewed, the evidence's status will be flipped back into a green satisfied state.
Understanding the Diff check
The diff check performs a comparison between the attachment that is being processed and the attachment that was collected before it. This is designed to monitor for changes between collections, and flag the attachment if it appears to have changed significantly from the previous collection.
The threshold for changes is ~5% — this means that if the document has changed more than 5% then Verify AI will alert the evidence owner so that they can confirm that the changes are expected. For some document types, Verify AI will attempt to use semantic understanding of the changes to avoid alerting on semantically similar changes like grammar updates or rephrasing of policy statements.
Diff tests currently only support text-based documents, like PDFs, images, JSON, tabular data, and Word/Google documents.
Understanding the Description check
The description check is designed to check the alignment of the attachment's contents to the evidence's description. For this reason, it is a very powerful and flexible test, and can be customized to the needs of the evidence item and expected attachment collections.
With great flexibility comes a bit of trial and error. While many evidence descriptions will work with the description check straight out of the box, in some cases you may want to refine the description to be more (or less) specific.
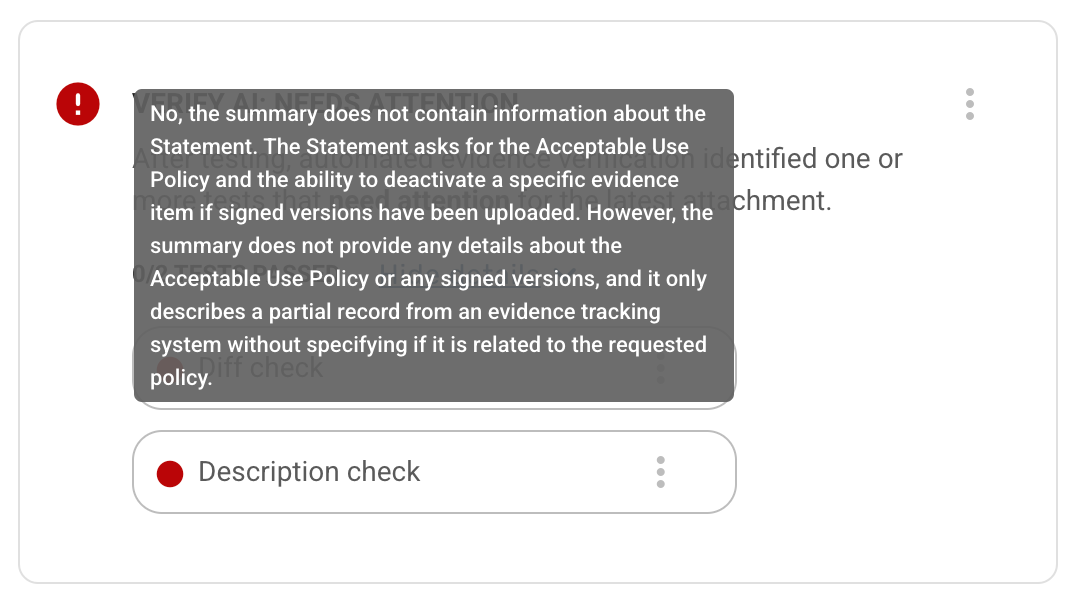
With the Description check, Verify AI will attempt to share the reasoning for why the attachment passed or needs attention. You can use this feedback to refine the description for better test results. To see the reasoning from Verify AI, open the test details and hover over the Description check result. Verify AI will show a tool tip with feedback on the test's status.
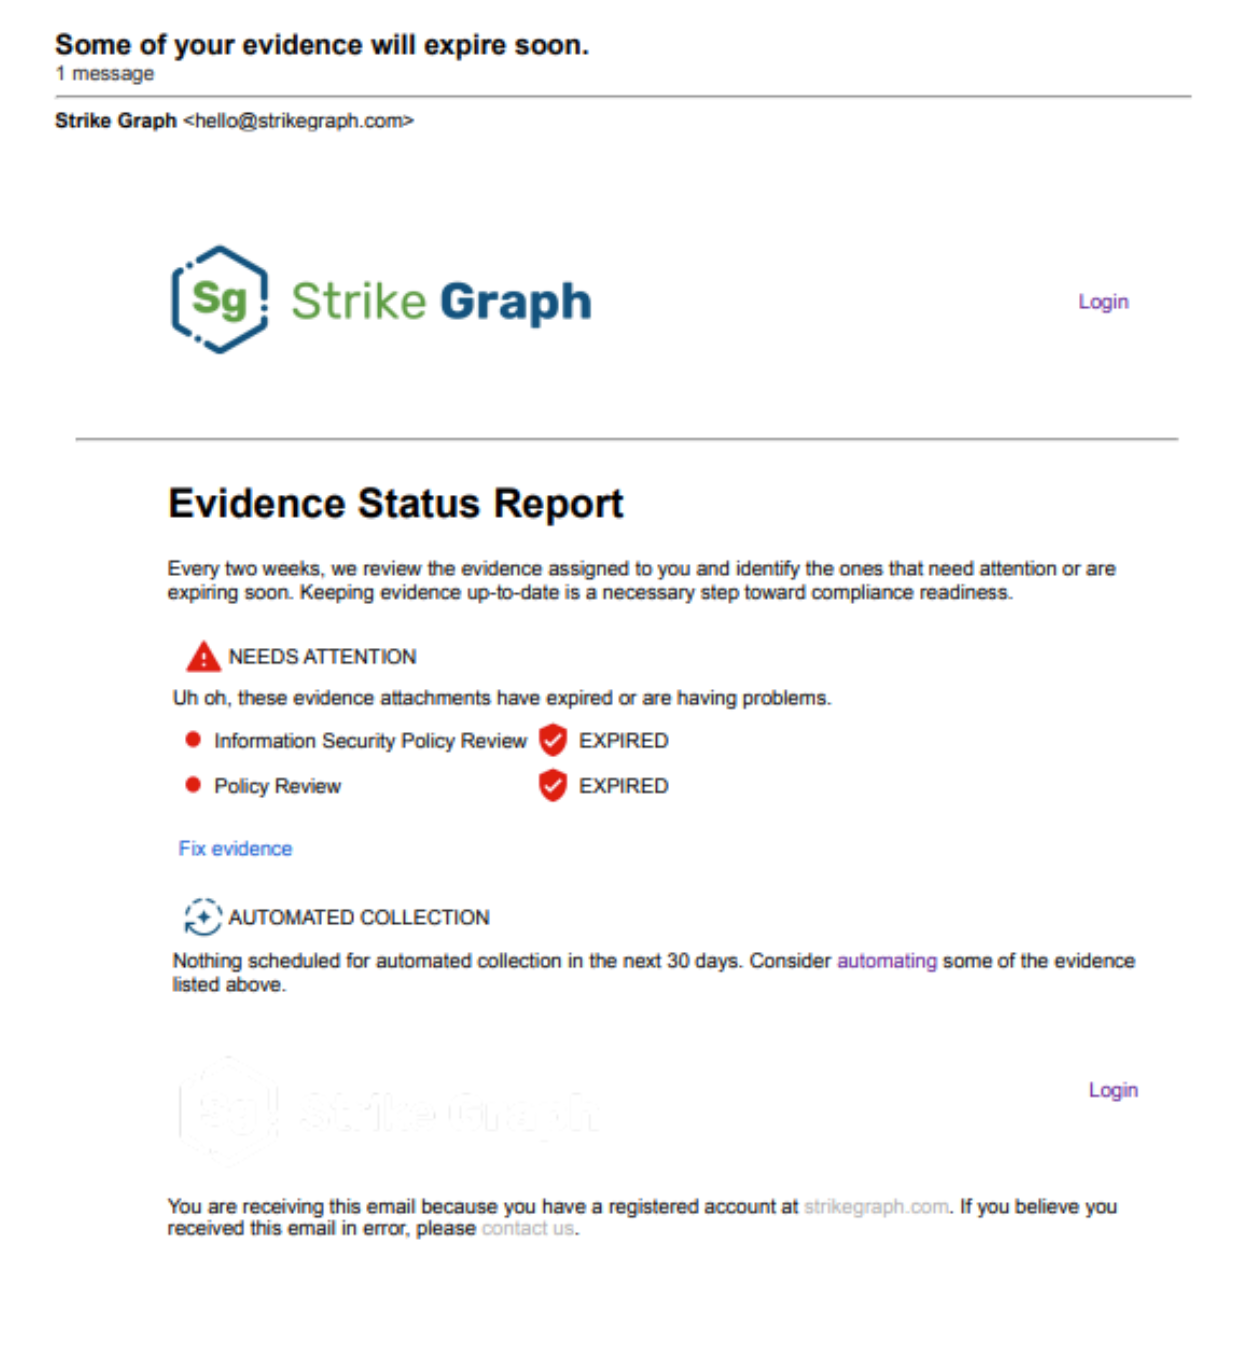
Keep an eye out for evidence expiration emails in your inbox
The last step is to look out for notification emails from Strike Graph that will let you know when evidence items you've been assigned are nearing expiration. Expiration notification emails are sent every two weeks, and you should receive an email notification for items starting one month from their expiration date.
How should I assign ownership of evidence items that do not have owners assigned?
Evidence owners are responsible for uploading the documentation requested by the evidence item, so assign whoever on your team would be best suited to gathering the policy, screenshot, sample, or process documentation requested by the item.
Was this helpful?
Still need help? Share an idea