Evidence ownership
Learn your responsibilities as an evidence owner
Written By Micah
I have been assigned ownership of an evidence item, what now?
Your responsibility as an evidence owner is to gather and upload the documentation for the evidence item that you have been assigned. This can be accomplished either via a manual file upload, or you can use one of our integrations to set up automatic collection.
Once you've been assigned ownership of an evidence item, you'll need to complete the following steps:
Understand what documentation should be uploaded for the item
Gather the requested evidence, and upload files to satisfy the evidence item
Understand what documentation should be uploaded
The first step once you've been assigned an evidence item is to understand what documentation is required. You can always reach out to your Customer Success Manager with questions, but there are a few things you can do first if you're unsure of what exactly is being requested:
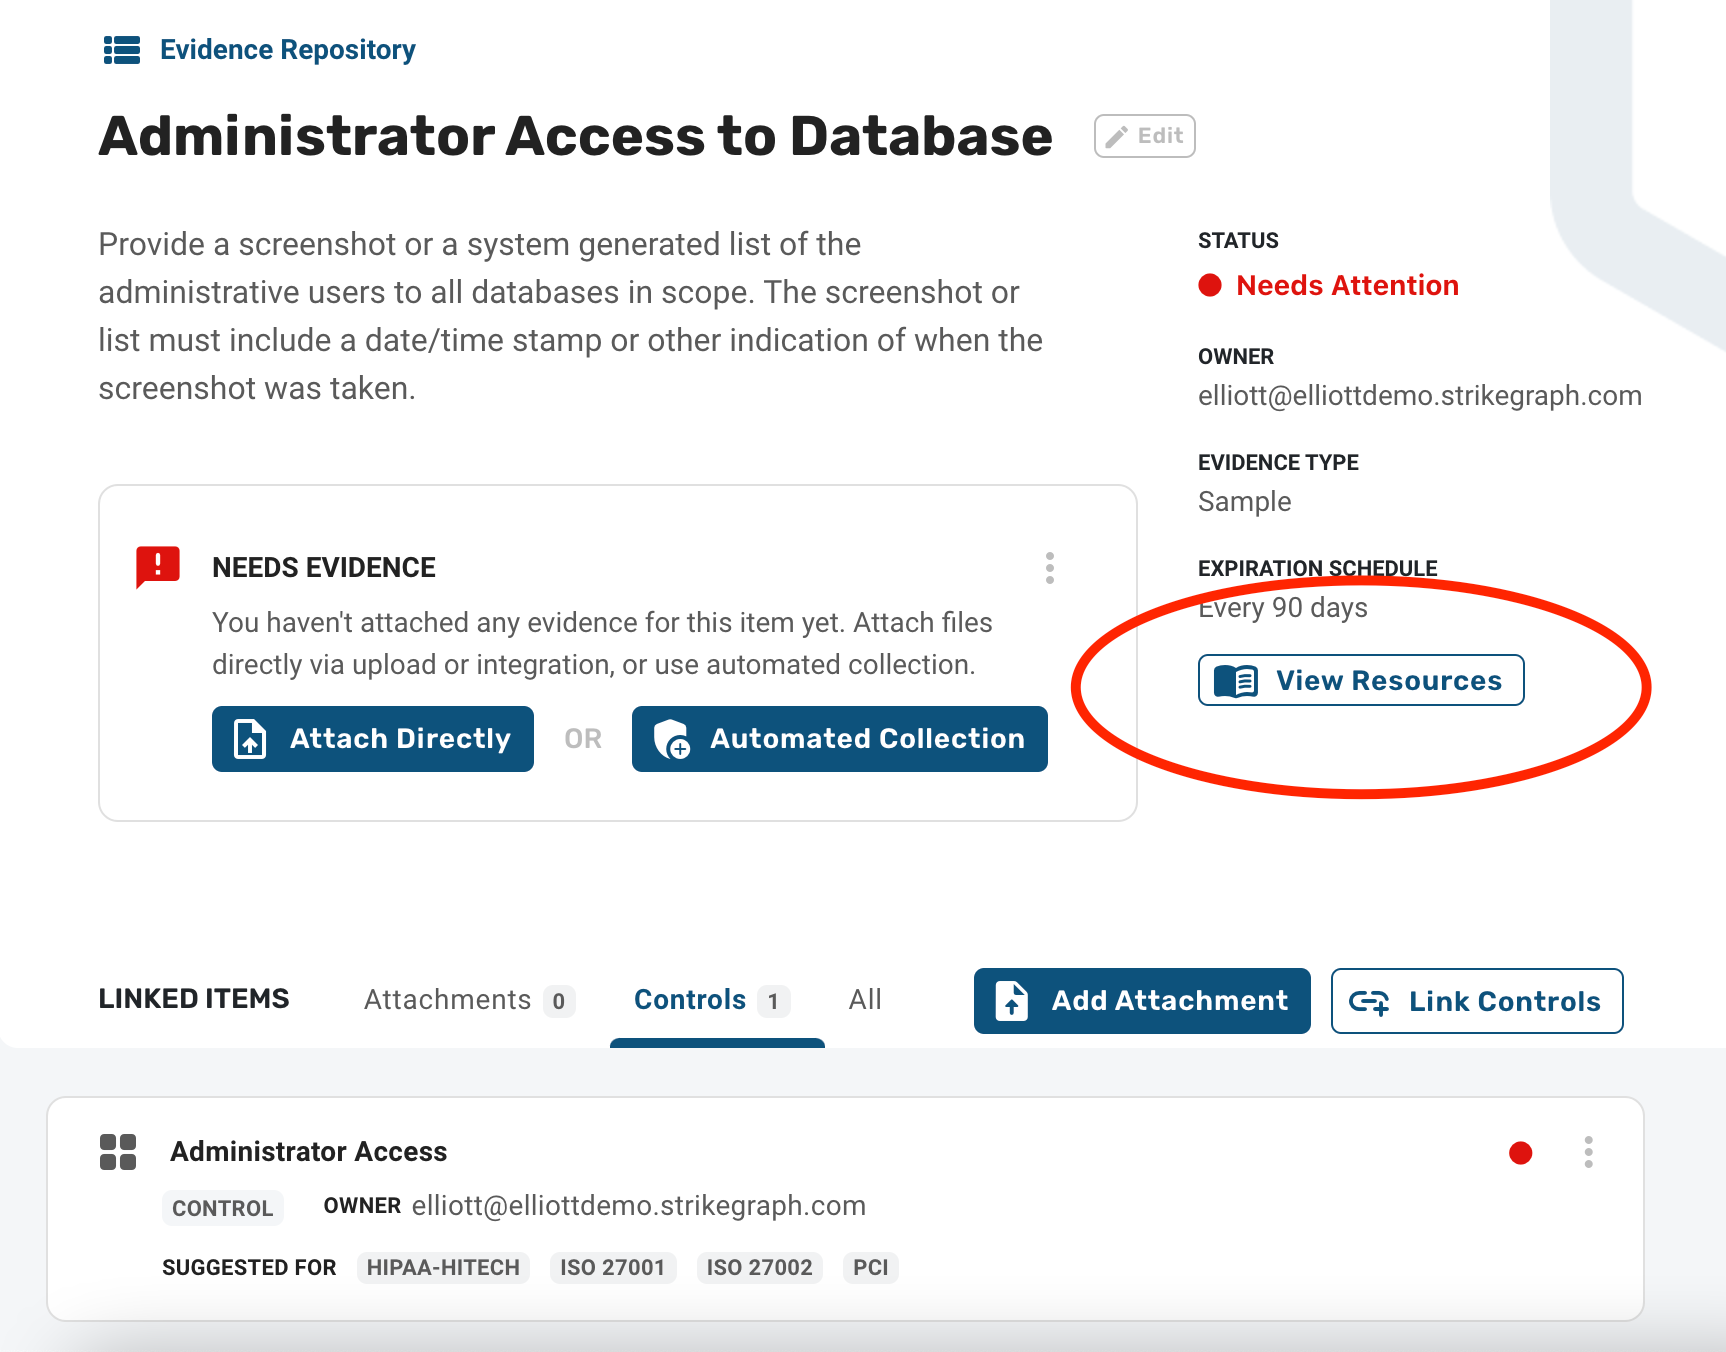
Search our Help Center for articles related to the evidence item by using the View Resources button. This button auto-populates a search in our help center for the given evidence item. View Resources is also where you will find Strike Graph policy templates for policy type evidence items.
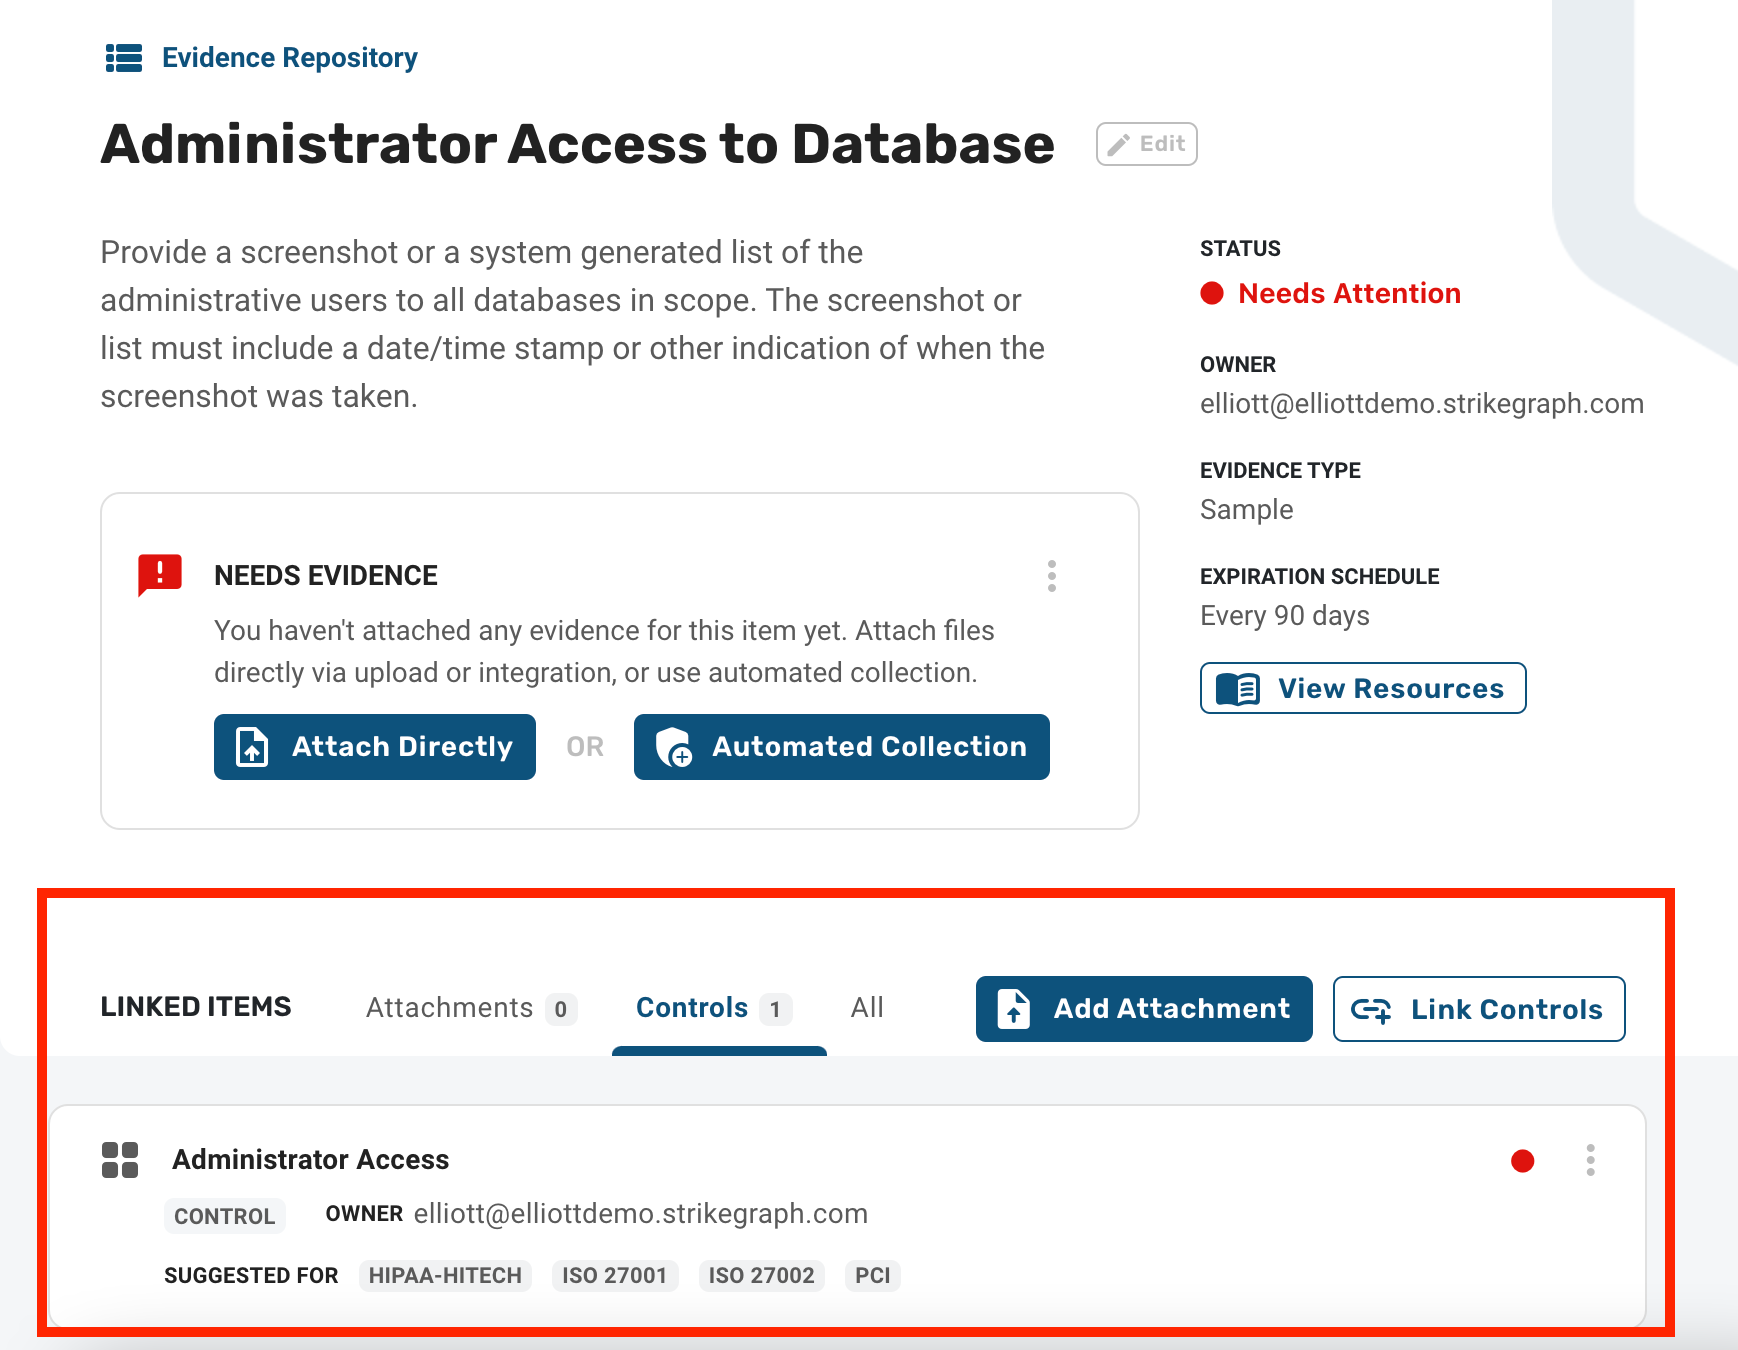
If you're still unsure of what is being asked for, check out the controls that are linked to the evidence item you've been assigned. The purpose of uploading files to an evidence item is to "prove" that a given security control is being performed, so understanding what control your evidence item is linked to can help you determine what an auditor will be looking for.
Upload files to satisfy the evidence item
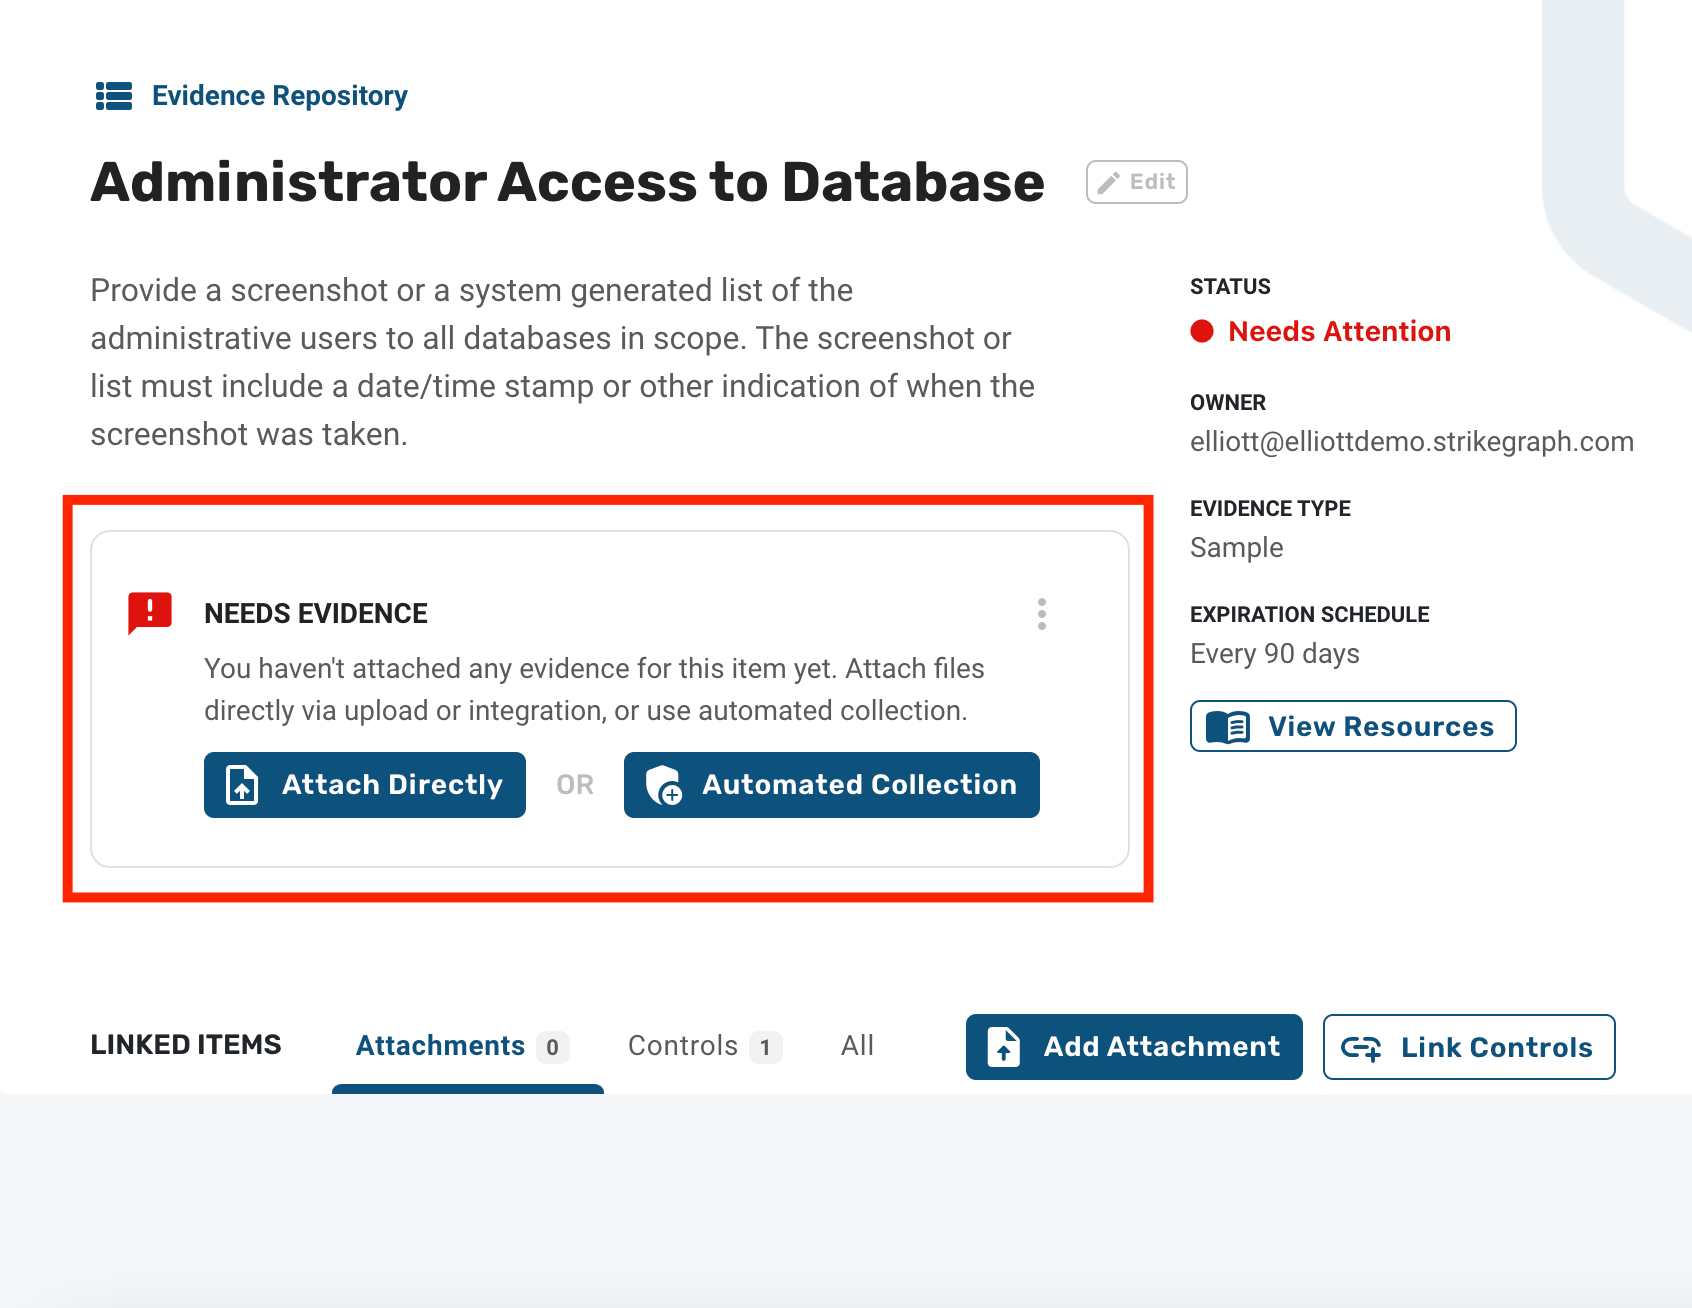
Once you understand what is being requested, the next step is to upload the requested policy, screenshot or other file. Files can be uploaded manually, using the Attach Directly button, or you can take advantage of Automated Collection by using one of our integrations. Check out our integration library, and guidance regarding automatic collection for more info.
Edit the Expiration Schedule of the evidence item
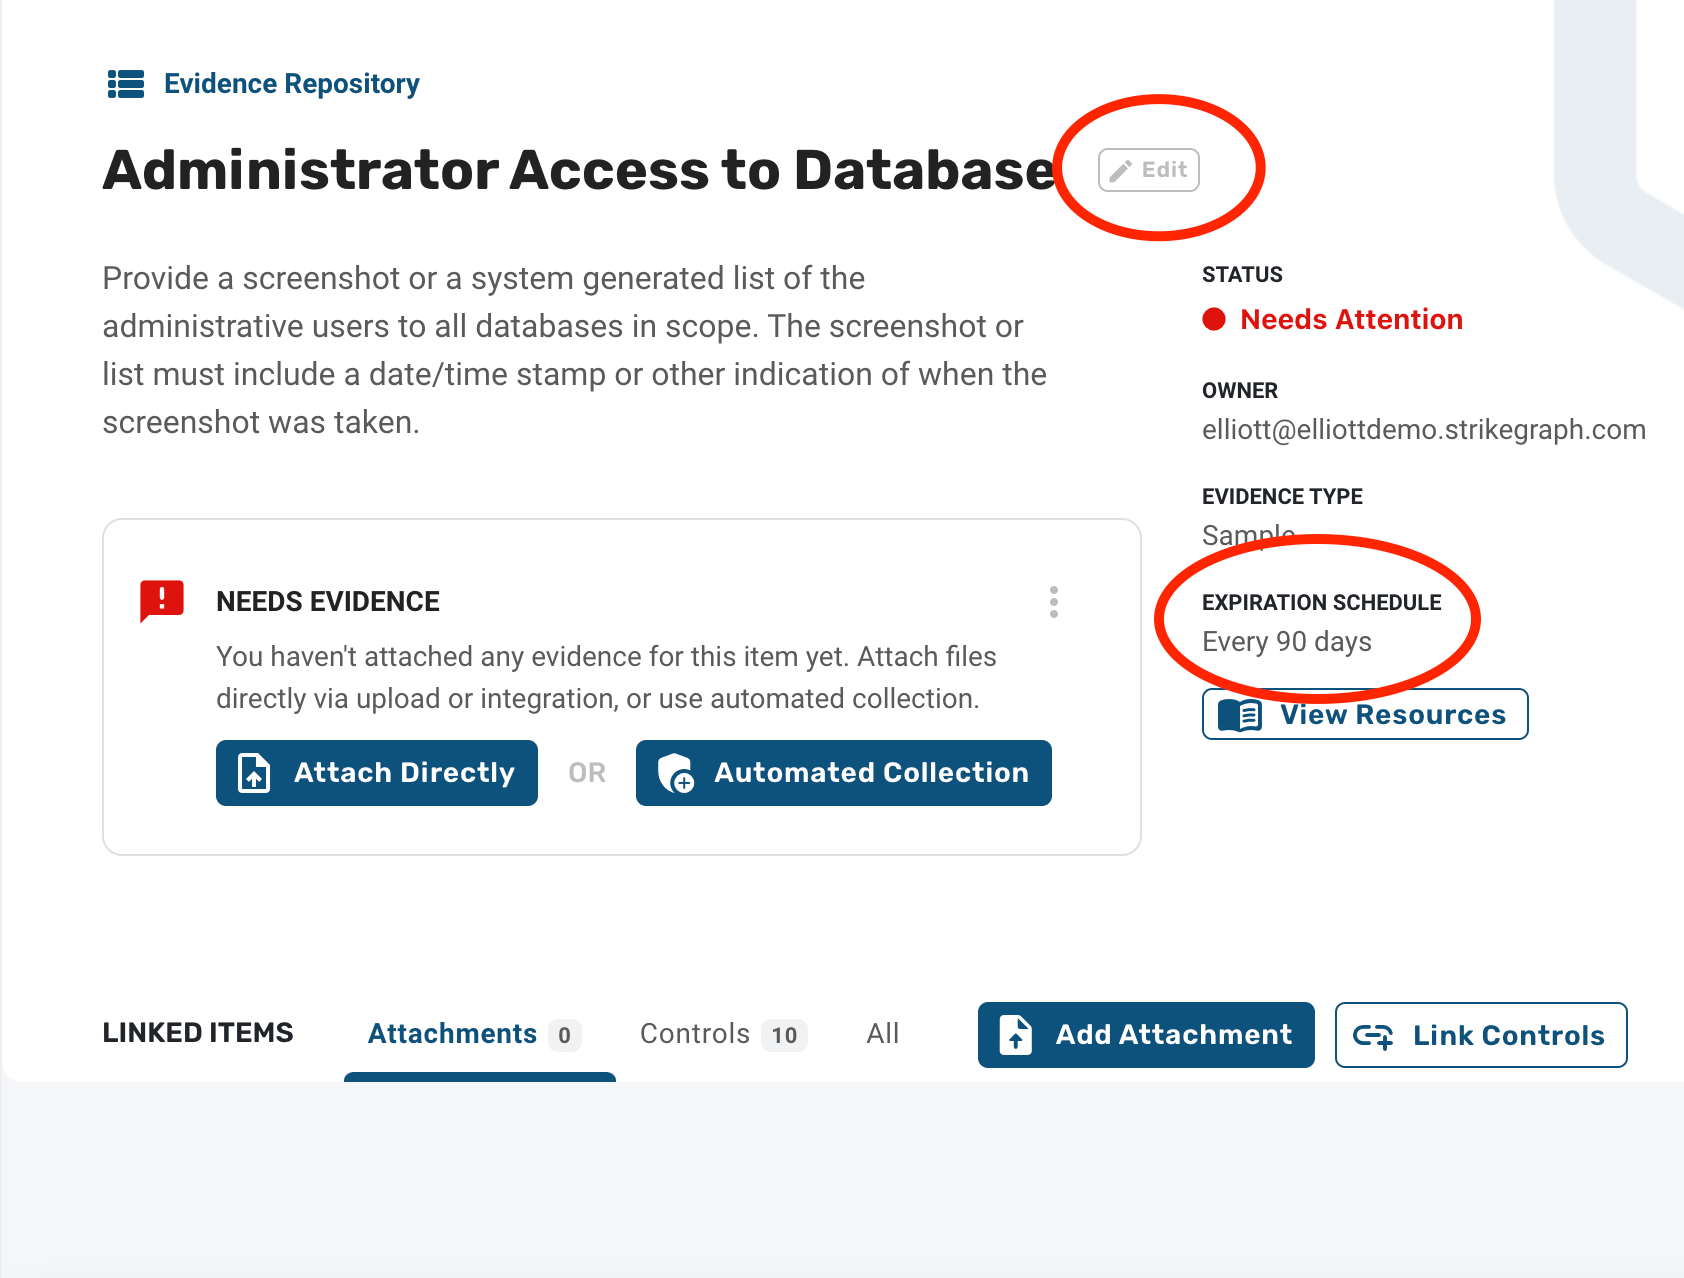
All evidence items are by-default set to expire quarterly, semi-annually, or annually (90, 180, or 364 days). Expirations can be changed from their default setting by clicking the Edit button. For example, if you know that your database admins don't change very often it may be appropriate to bump the expiration out to every 180 days rather than its default 90 day expiration.
Keep an eye out for evidence expiration emails in your inbox
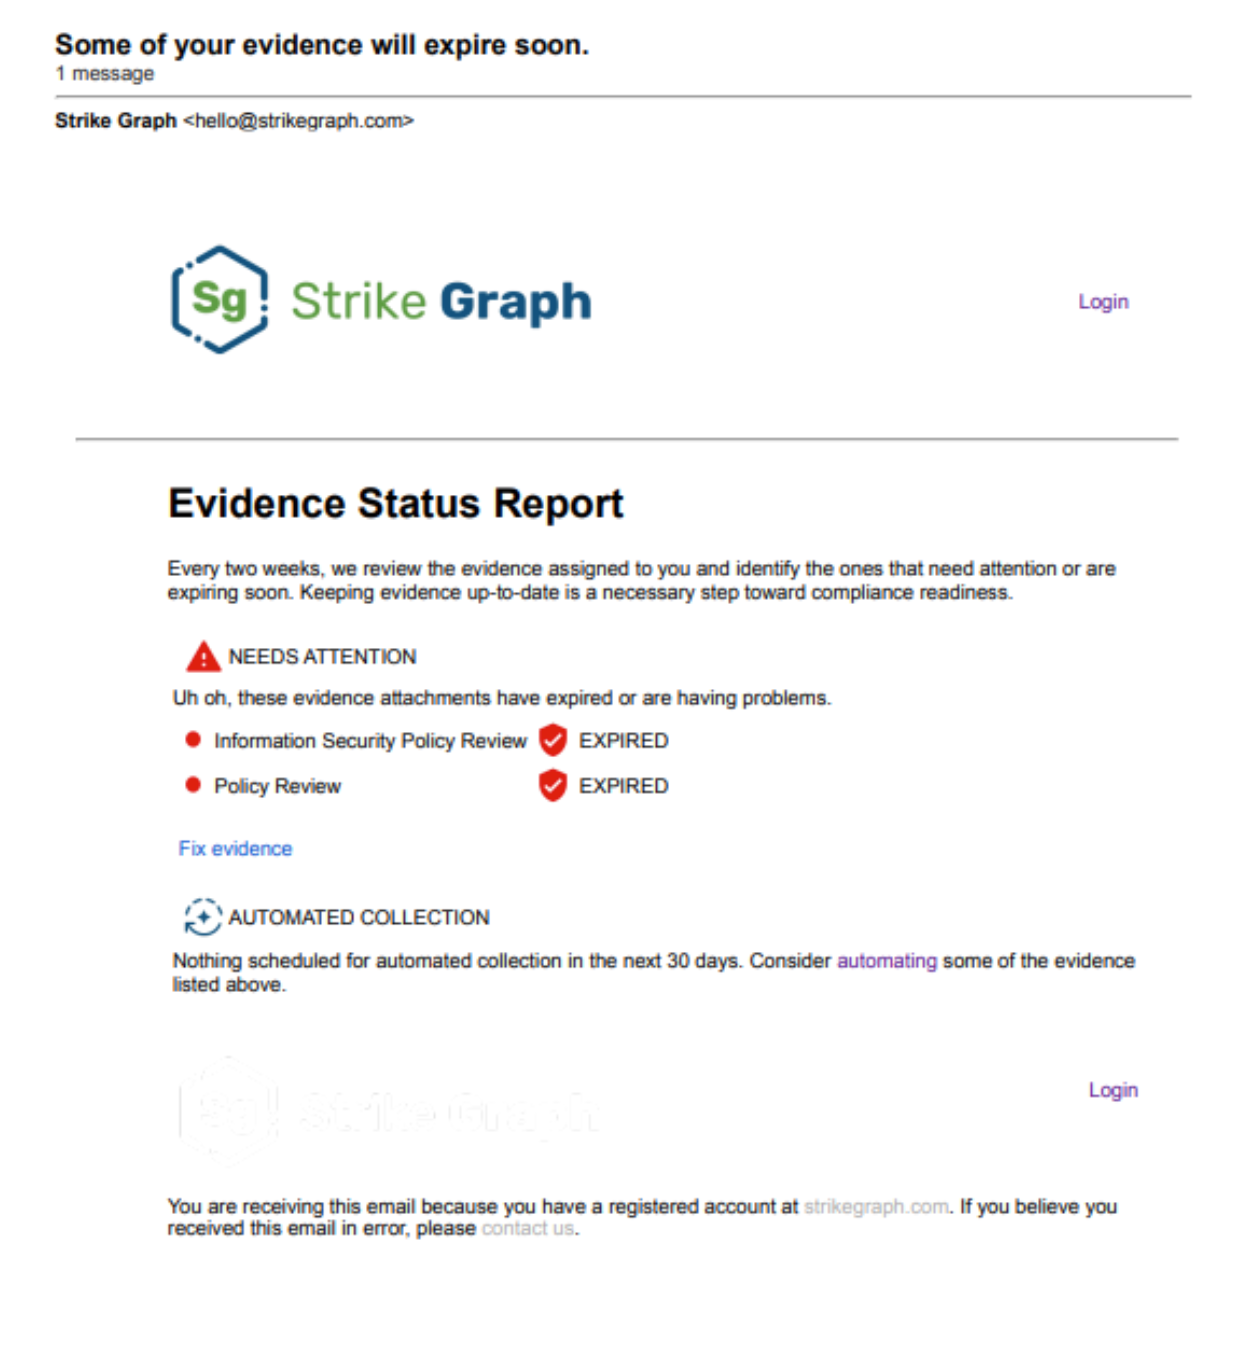
Once you've uploaded evidence and set the expiration, the last step is to look out for notification emails from Strike Graph that will let you know when evidence items you've been assigned are nearing expiration. Expiration notification emails are sent every two weeks, and you should receive an email notification for items starting one month from their expiration date.
How should I assign ownership of evidence items that do not have owners assigned?
Evidence owners are responsible for uploading the documentation requested by the evidence item, so assign whoever on your team would be best suited to gathering the policy, screenshot, sample, or process documentation requested by the item. Oftentimes this will be the same as the control owner, but in larger organizations it may make sense for control owners to delegate ownership of evidence items out to other team members.
Was this helpful?
Still need help? Share an idea